Trips

Backpack

Lakeshore Trail

Last year for my birthday Boyd and I spent a weekend in the small town of Stehekin in the North Cascades. Stehekin sits on the north shore of Lake Chelan, a 50-mile long lake in Central Washington. Unlike the Southern End of the lake, Stehekin is only accessible by boat or seaplane. On that trip, I learned of the Lakeshore trail which hikers are let off the ferry 18 miles before Stehekin and follow a trail along the lakeside to hike their way into the town. As this trail is lower in elevation and on the eastern side of the Cascades it’s a great option for an early season backpacking trip being warmer and snow-free compared to other trails. My friend Katie and I had free time during the week so we decided to tackle the lakeshore trail over 2 days starting on a Thursday.


mileage

18

elevation gain

4,000 ft

location

North Cascades

drive time from Seattle

3h + ferry

useful gear

Poles – ward off snakes!

permits/passes

Ferry Ticket

We had to leave Seattle at what felt like an ungodly hour of 5:30 am to have enough time to drive to Fields Point Landing to get the Lady of the Lake ferry. We stopped for coffee in Cle Elum and had enough time at fields point landing to pay for overnight parking and pick up our tickets. I couldn’t believe it but they make you hold on to a return ticket to get the ferry back, seems like something one could easily lose on a backpacking trip. The ferry ride from fields point landing to Prince Creek Dock (the start of the trail) was a little over an hour.

The ‘Dock’ at Prince Creek isn’t really a dock, they lower a walkway off the front of the ferry and you unload onto the rocky shore of the lake. The ferry then continues North leaving you alone in the wilderness 18 miles from the nearest exit point. We unloaded with a few other groups took a while to organize our things on the shore of the lake and were the last to depart. Starting out on the trail we got great views of the North Cascade Mountains towering 5000ft above the lake. The trail is never really at water level, it traverses just above giving you fantastic views most of the way. The going was hot and we quickly overtook all the other groups for the day.

Being the first on the trail for the day turned out to be a disadvantage. We read the warnings in the guide about rattlesnakes being common in the area and we came across our first one at the aptly named Rattlesnake creek. This was my first ever sighting of a rattlesnake so I thought it was pretty cool to see it. Wow, how my opinion changed! Katie admitted to being pretty scared of snakes so it was left to me to lead us on the trail. On our 11 mile hike to camp we (I) came across 5 rattlesnakes and 2 garter snakes on the trail. It’s safe to say my nerves were pretty shot by the time we got to camp, jumping at the slightest noise, or movement thinking it must be a snake!

On the 11 mile hike into our camp at Moore point, we experienced more views of the lake and mountains, wildflowers and used small streams along the way to cool off in. When we had about 2 miles to go the weather cooled as some storms passed by bringing in some dramatic clouds, a few rumbles and only a tiny amount of rain. By the time we got to camp (at around 5), we were pretty tired and happy to relax by the lake for the night.

Moore Point is accessible by the ferry so there was another group already there who got the ferry in that day to fish. The campground was huge! with multiple pit toilets, a shelter and food storage lockers it felt very luxurious. The weather cooled as we set up camp but wasn’t unpleasant. There were lots of mosquitos around and they were hungry, I managed to get multiple bites on my forehead. Right before we went to bed we watched the sunset over the mountains and the lake admiring all the colours.

The next day we only had 7 miles to walk into Stehekin but we had a deadline to get to the ferry by 2 pm. We decided to aim to arrive in Stehekin before lunch which still gave us plenty of time to have breakfast and pack up camp in the morning. The trail to Stehekin climbs above the lake once again and you get your first views of the head of the lake and the Stehekin Valley. The day was heating up again and we stopped to cool off in streams that the trail passed over. The closer we got to Stehekin the more privately owned lakeshore cabins there were that the trail traversed behind. These properties are vacation homes which are only accessible by boat. We also passed Flick Creek campsite which has a dock that people use for boat camping.

We made a good pace into Stehekin arriving at 12 before the ferry for the day! I only saw 1 garter snake and 2 rattlesnakes on the 7 miles which felt better than the 7 the day before. Seeing as we were early enough we hopped on a shuttle to the famous Stehekin Pastry Company to grab lunch before the ferry. I have heard about their cinnamon rolls and was disappointed to learn on my last visit to Stehekin they weren’t open. I don’t know if it was the hiking but the Cinamon roll definitely lived up to the hype.

Trail Info: WTA
Ferry Info: Lady of the lake
GPX tracks:

Hike

Mount Pilchuck

An evening scramble I’d signed up for got canceled for today so I decided to head out to Mount Pilchuck. I’ve been to the lookout tower of Mount Pilchuck in 2017 but that day it was pouring rain so I was keen to go back and see if I could get some views. The weather for the day looked pretty good so I was hopeful.

mileage

~ 5.5

elevation gain

2,200 ft

location

Mountain Loop Highway

drive time from Seattle

1.5h

useful gear

Poles, Stiff Boots

permits/passes

NW Forest Pass

I’d forgotten how bad the road is to Mount Pilchuck’s trailhead. I think it might even be getting worse. There are huge potholes in the first mile that make driving pretty slow even in my high clearance Jeep! One mile before the trailhead the road becomes paved as you enter the Forest Service Land which makes for some relief. I arrived at the trailhead around 12:30 surprised by how many cars there were in the parking lot for a Wednesday. As I was getting ready realized I forgot my gaiters. I started hiking hoping I wouldn’t regret leaving them at home.

I didn’t realize earlier but there used to be an old ski field on Mount Pilchuck so the first part of the trail was the old service road. The trail pretty quickly crosses a stream and quickly starts switchbacking up the West side of the mountain. There aren’t any views for the first mile but the trail is really pretty (lots of log steps) and the forest is quiet. The trail becomes even rockier and uneven when you reach some boulder fields and starts traversing up the north face of the mountain. Here is where I met the snow, about 1.25 miles in.

It was well past 1:00 when I hit the snow and it had softened up under the day’s heat. This made it slippery going and the climbing a little more exhausting because of it. Due to the traffic on this trail, it was easy to see which way to go. After the trail traverses for a bit it then opens up to where you can see up to the summit of Mount Pilchuck across a big snowfield. This was a really pretty sight but I could make out people up on the summit and was a little dismayed at how far it looked like I had left.

I reached the lookout tower and summit after about an hour and a half of hiking. The clouds were swirling around the same level as the mountain which looked really cool with the cliffs seeming to go into the sky. I didn’t get the views I was hoping for. The lookout was boarded up, it only gets opened in the summer but it’s balcony made for a nice place to rest and take photos. The lookout tower itself seems to perch precariously on the boulders that make up the cliffs and summit of Mount Pilchuck, making you wonder how it stays there.

After 20 minutes the views got even more socked in so I decided to start making my way down. I was quicker on the way down, able to plunge step down the snow easy enough. I avoided most of the glissade shoots because some had rocks sticking out. I post-holed down to my knee on a few occasions because the snow was getting soft. My boots and feet were completely sopping wet by the time I got off the snow and back to the normal trail. Because of the snow being a little slick I was back to the car quickly in just over an hour.

Gaia map

Scramble

Navaho, Three Brothers & Freedom Peaks

This trip had been booked in for a while by my friend Ananth who is trying to bag all the peaks on the Teanaway 20 list on peak bagger. I’m not as big into lists but love the Teanaways so was happy to join for the trip. This would be a scramble of 3 peaks along a ridge with a trail approach of 3 miles. There was a lot of elevation and miles in between to make this a pretty big day.

mileage

~ 14

elevation gain

6,300 ft

location

Teanaway

drive time from Seattle

2h

useful gear

ice axe, spikes

permits/passes

NW forest pass for upper trailhead

We started from the Stafford Creek Trailhead which is used to access Navaho pass. The trail follows Stafford creek, apart from the occasional switchback the elevation gain is moderate. There were some small creeks to cross and a few blowdowns along the way. We made quick work of the trail and were just over an hour to where we deviated from the trail to gain the ridge between Navaho and Freedom (also known as Little Navaho) Peaks. We left the trail where a dry creek bed crosses the trail, approximately 3 miles in. As we climbed towards the ridge we hit snow maybe 500ft below the ridgeline.

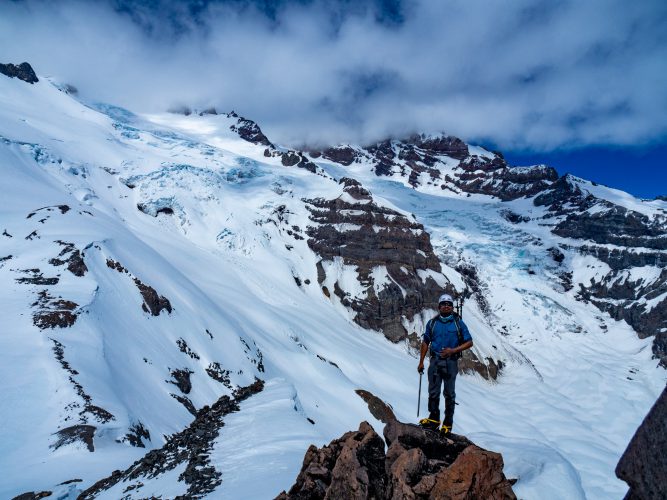
On the ridge, it was obvious the snow that remained formed some rather large cornices which we were careful to stay away from. We continued our climb up Navaho, gaining some false summits along the way but eventually reaching the true summit at 12:30. Here we got views of the Stuart Range and peaks from the bean creek basin.

We took a short break on the summit of Navaho before heading down the way we had come up. On the way up we scouted a way to connect the shoulder of Navaho to the ridge with Three Brothers. We ended up dropping more than 1000ft before we started climbing up the Three Brothers. There was still snow as we first started dropping down towards the saddle with Three Brothers which we used to glissade on and make quick work of the descent. There seemed to be a faint boot path up to the summit of Three Brothers which we were able to follow. The way was mostly snow free and we climbed to gain the 1000ft we’d lost from the Navaho summit. The ridge required only a little use of our hands to climb over some rocky obstacles, other than that it was pretty much a straight walk-up.

On the summit of Three Brothers, we got similar views to Navaho peak but clouds seemed to be looming larger making a little cooler. There were a few mounds at the top, we found the true summit by finding the Mountaineers summit register which we filled out. The last entry was November last year. As we started our descent off of Three Brothers we set our sights on Freedom Peak.

Freedom shares a ridge with Navaho and where we gained the ridge originally was the saddle between Freedom and Navaho Peaks. To start our route up Freedom we needed to get back to this saddle. Instead of backtracking along the ridge of Three Brothers and Freedom, we dropped lower into the Etienne Creek Basin underneath this ridgeline to cut some of the distance. Here I took the opportunity to refill my water bladder for the remaining climb.

To get back to the saddle of Navaho and Freedom we decided to climb a ridge leading to one of Navaho’s false summits just north of the saddle we wanted to get to. As we skirted around this ridge we were hoping to traverse to the saddle. Unfortunately, we ran into some steep gullies blocking our way. It then took some route finding and we decided on traversing a snowfield and gaining the ridge at the top in between two cornices. The snow was soft so easy enough to make steps. I was one of the last to traverse and climb the snow wall and by that time the rest of the team had made some bomber steps. We affectionately knick-named the feature ‘Ananths Wall’ and were glad we all got through safely.

From the saddle, it was a short scramble up a few hundred feet to the summit of Freedom Peak. This was the most fun scrambling of the day because of the steep cliffs and the narrower ridge leading to the summit of Freedom. The summit was a smaller block than Navaho and Three Brothers giving you a better 360 view. From the top of Freedom, it was great to look across the saddle and the valley to our other objectives for the day and marvel at how far we’d come.

We started the climb down to the saddle again at around 4 pm and descended back to the trail the way we’d come up that morning. I was thankful for the long days we are having now because the 3-mile walk back to the trailhead was all in the light of day. The day turned out to be a really rewarding scramble and I was glad we had such a strong team to make it possible. My Garmin indicated over 14 miles and over 6000ft of elevation gain after all the ups and downs. We were all dreaming of food on the way back so stopped for Thai in Cle Elum before driving all the way back to Seattle.

Scramble

Mount Ellinor – Winter

Mount Ellinor was my second scramble ever and the first one that I needed my ice axe to travel on steep hard snow. On that trip I was super nervous, I didn’t really have the right traction and the conditions meant we couldn’t glissade which is what this route is popular for. Now finding myself with a bit of time off I jumped at the chance to do this mid-week on a scramble led by one of my Mountaineers friends Jordan.

mileage

~ 7

elevation gain

3,300 ft

location

Olympic National Forest

drive time from Seattle

2h

useful gear

crampons, ice axe

permits/passes

NW forest pass for upper trailhead

We left Seattle early to avoid some of the weekday traffic of Tacoma and Olympia. We stopped for coffee in Hoodsport before grouping with the other scramblers in our group. We drove the forest roads (which a completely pot-holed) and decided to park at the lower trailhead. I’d heard the way to the upper trailhead was mostly snow-free but we decided we’d like to do the extra mileage of the lower trail. It was at this point that one of the guys who got a ride with Jordan accidentally locked Jordan’s keys in his truck! We were so shocked we didn’t really know what to do. We decided to worry about it after we finished the scramble.

We started out just after 9 am and headed up the lower trail. It slowly works it’s way up along a ridge for about 2 miles through the forest before meeting the upper trail junction. After the junction with the upper trail, it gets pretty steep switchbacking until you reach a junction of the winter and summer trail. Just before this junction, we met the snowpack which was pretty hard and consolidated on the trail.

We took the winter route and the trail opens up to reveal a snow-covered couloir that looks long and steep from the bottom. The glissade tracks were well defined snaking down the mountain like a toboggan track. Here we put on helmets and crampons and got out our ice axes. The snow conditions were pretty great, hard enough to make walking up in crampons easy but soft enough you didn’t have to drive your feet in too hard. Some sections of the climb up are narrow in the couloir so the steps are right next to the glissade chutes, and no room to make switchbacks just keep climbing straight up.

Once you reach the top of the couloir the route heads to the left for two more (much shorter) slopes uphill to reach the summit. We had amazing weather on the summit and you get 360 views into the Olympics, out to Mount Rainier, Mount Adams and the Puget Sound. We could see all the way to Seattle! We hung around on the summit grabbing a bite to eat and taking lots of photos before taking off our crampons and putting on our rain pants to prepare for the glissade down.

Some of the group were new a glissading so before we started we had a recap on technique. Steve went first and I followed. There were about 5 chutes that we connected on the way down. Some were very steep and cut into which made controlling speed pretty tricky. One of them near the top of the couloir had a tree poking out of it which all of us tried to go left or right of but ended up just going over the top of it. We all had a great time with the glissade and I was glad I got to experience it this time around.

When the trail was snow free we stashed our ice axes and removed our waterproof layers used for the glissade. The hike back to the parking lot went fine and we all went at our own pace. When we got back it was time to worry about the key locked in the car issue. Thankfully on the way up to the summit, Jordan got cell service who was able to contact his girlfriend. She met us at the trailhead at 3 pm and brought some tools to get into the car. The wire coathanger worked a treat and we weren’t delayed too much by the whole thing. We stopped in Hoodsport on the way back to Seattle for some burgers before making it back to Seattle

Scramble

Cowlitz Rocks – Winter

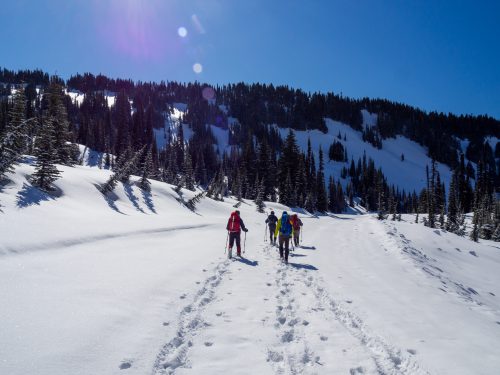
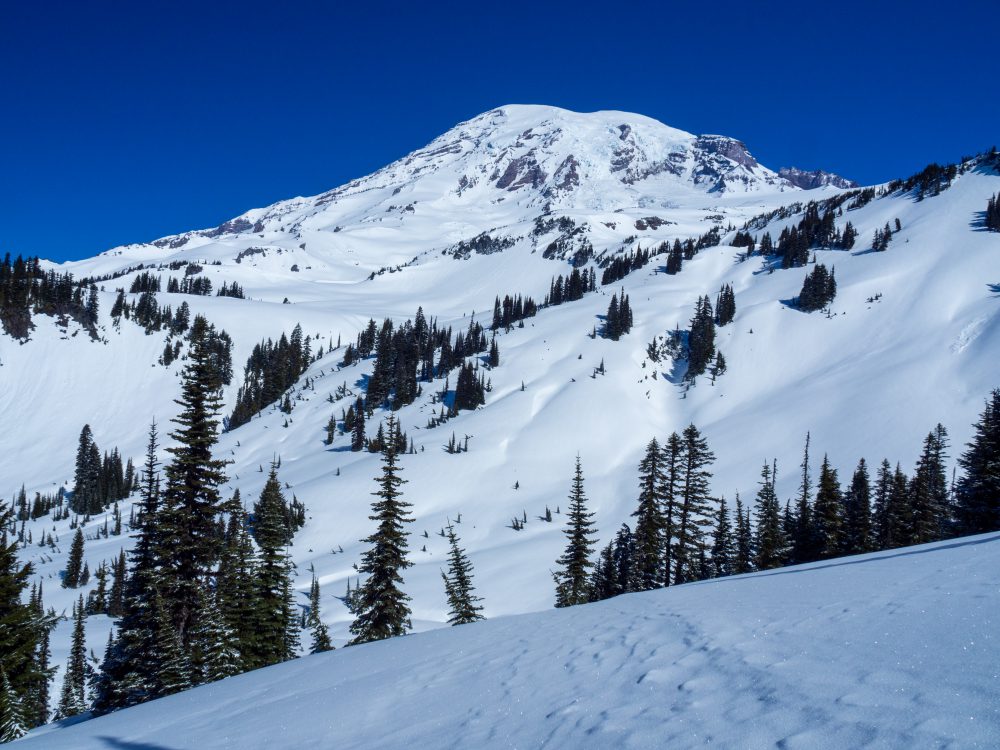
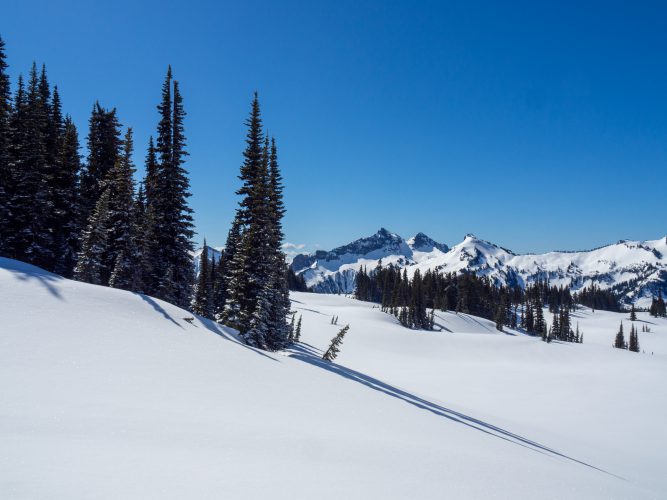
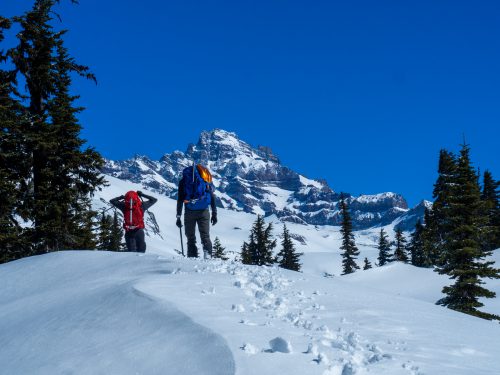
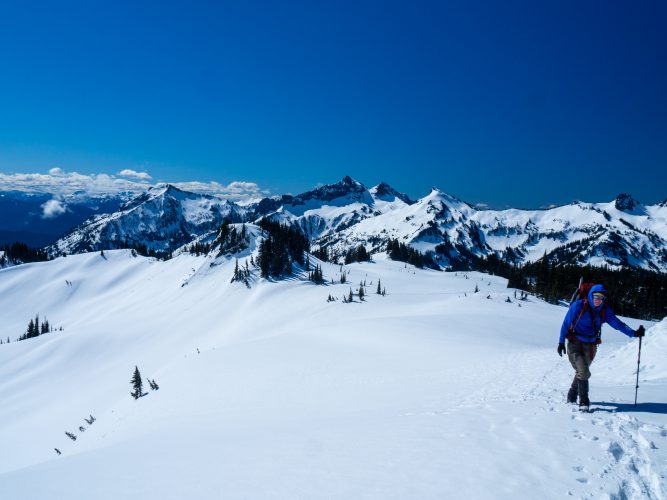
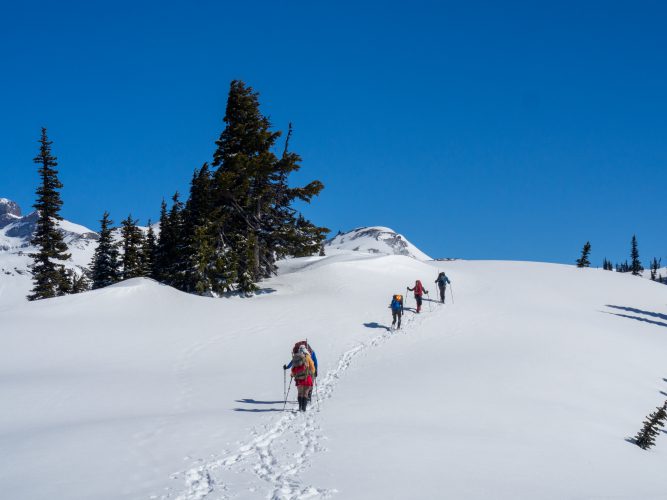
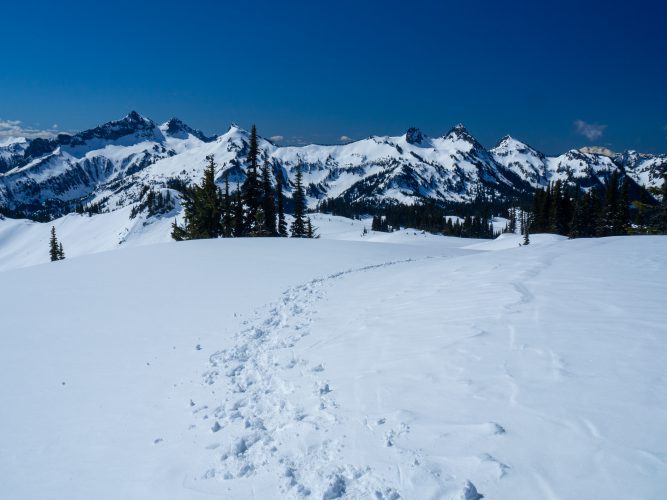
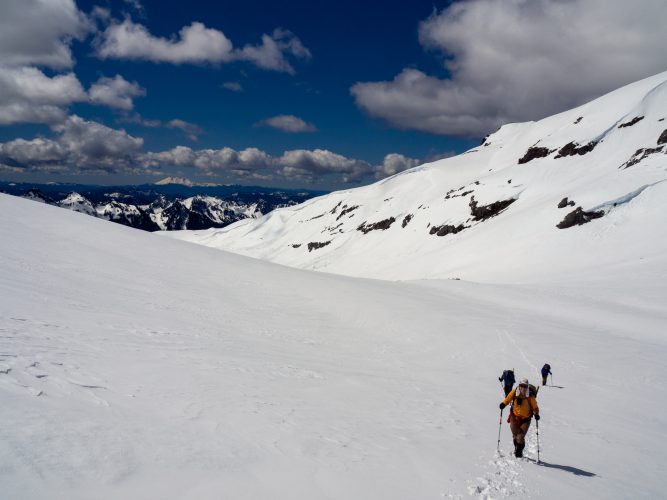
Another weekend another mountain adventure. This weekend Ananth and I decided on a last-minute scramble to Cowlitz Rocks in Mount Rainier National Park in the Paradise area. This isn’t a very popular route outside the Mountaineers and I don’t really understand why because it was beautiful. We did have fantastic weather and got views of Mount Rainier, Little Tahoma, the Tatoosh range as well as other cascade volcanoes like Hood, St Helens and Adams.

mileage

~7

elevation gain

2,400 ft

location

Mount Rainier NP

drive time from Seattle

3h

useful gear

Poles, crampons, snowshoes, navigation, avy gear

permits/passes

America the Beautiful

We left Seattle around 6, grouped at Longmire before heading up to Paradise. There had been some fresh snowfall overnight and the road up to Paradise was pretty icy. We took the drive really carefully. The parking lot at paradise was covered in a thin layer of ice which made walking to the bathroom a bit of a challenge! We made the call at the cars to leave our snowshoes but 3 of us who had avalanche beacons donned those as we would be travelling through avalanche terrain.

The route to Cowlitz rocks starts from the closed Paradise road, downhill until the ‘Fourth Crossing’ trail. The way heads uphill to the Mazama Ridge and follows the paradise glacier to Cowlitz Gap. The fresh snow from the previous day meant we had to break trail and at some places was hard to tell what the surface was like under the powder.

When we got past Mazama Ridge we lost the trees and it is completely exposed from then on. It was pretty hot in the sun and we made sure to reapply sunscreen hourly. I forgot my glacier glasses and my eyes were watering even though I was wearing regular sunglasses. When we reached Cowlitz Gap we saw the steep slope up to the rocks and we stopped to discuss the best route.

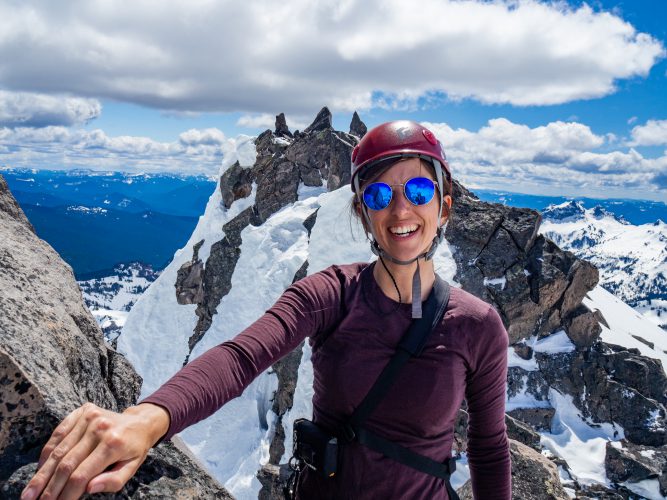
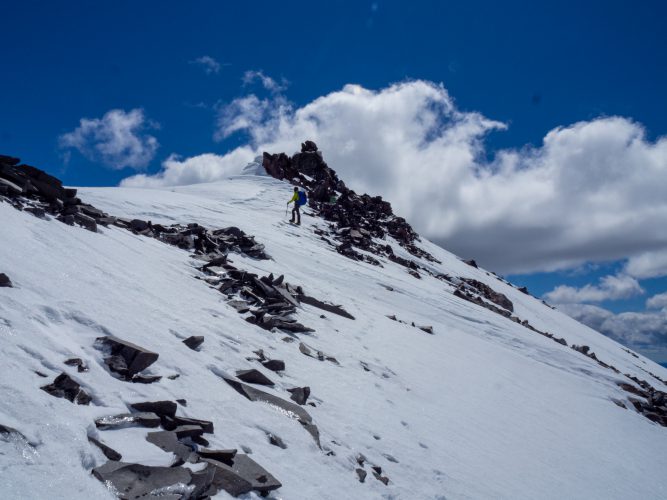
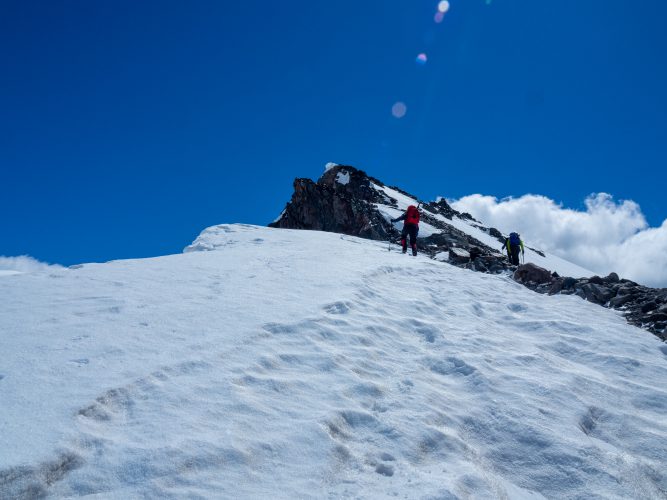
We decided to hug the ridge, being mindful of the cornice and using an exposed rock line to make our way to the summit. The snow turned to hard ice pretty quick and the rocks were pretty unsteady and easy to posthole into the rocks through the top layer of snow. We donned crampons and pushed the last 100ft, working our way up the steep hard ice. Our stopping point was a rock tower along the ridge that we deemed the top. The clouds had come in and were now covering our view of both Little Tahoma and Mount Rainier. We still had great views out to the Tatoosh Range.

After a quick break on the summit, we started to head back down the steep ice, using crampons and ice axes to move down onto the softer snow at Cowlitz gap. From here we hiked most of the way back to the parking lot without needing a break. The way down was a little slippery with the snow had softened a little from the Morning. Also, the way up Mazama ridge was obviously covered in boot holes that were covered in the new fresh layer of snowmaking foot placement crucial on the way down. We got back to the cars with the whole trip taking just under 6 hours.

Scramble

Mount Saint Helens – Ski

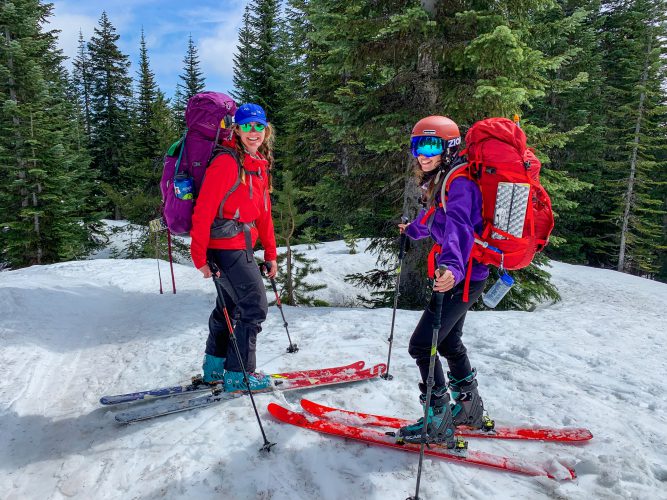
This winter season (even though it was shortened by my trip to Australia) I got into backcountry skiing. My main goal was to prepare for spring and the volcano skiing season. I was comfortable with the idea of a Saint Helens ski seeing as I’d summited it twice last year so I was stoked to be joined by Melanie and Katie in the goal. We grabbed permits and crossed our fingers for the weather.

mileage

~11

elevation gain

5,600 ft

location

South Cascades

drive time from Seattle

3h

useful gear

Poles, crampons, ice axe, skis

permits/passes

Permit required from recreation.gov

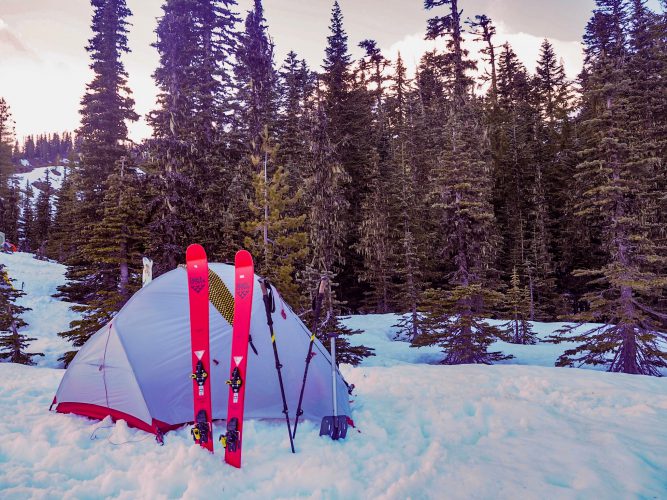
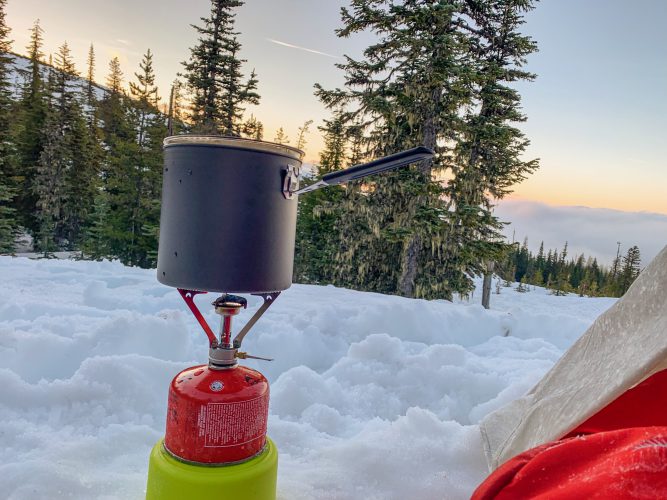
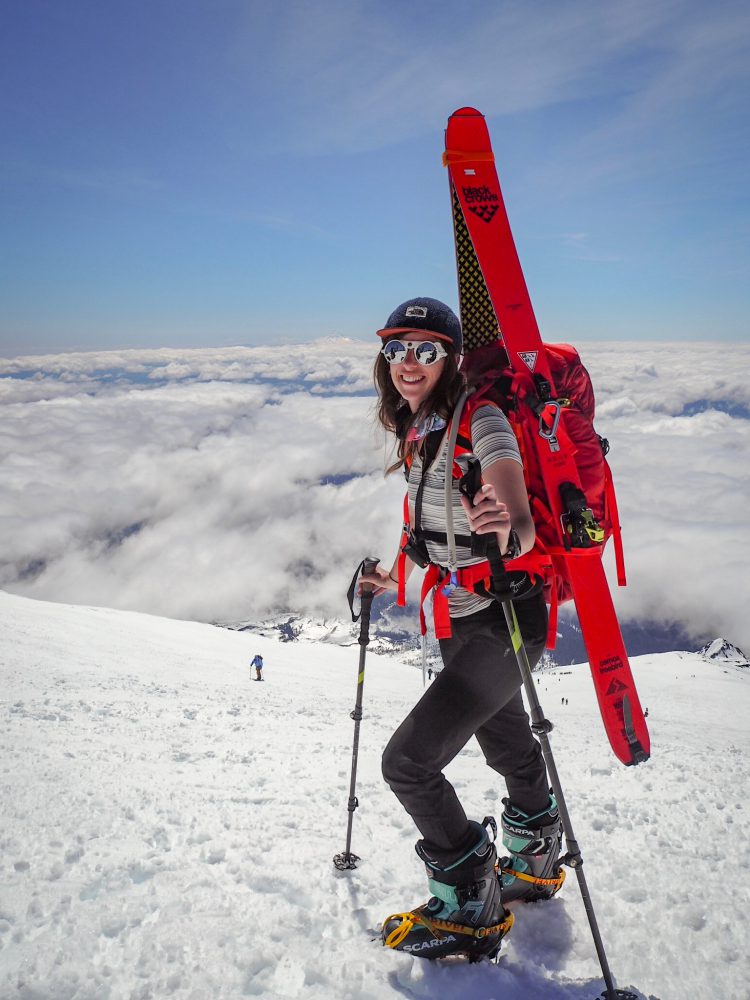
To make a weekend of it we went Saturday to camp out along the trail before pushing for the summit Sunday. From the trailhead, there was snow most of the way to our chosen campsite at chocolate falls. The snow at the start was a little patchy so we had to take our skis off a couple of times to cross. Apart from that, the gradient was very gentle which made for some easy skinning. It was 1.5 miles to camp which took about 3 hours. We got into camp a bit after 4, giving us time to set up a tent, make water and ready for an early night. Unfortunately, we discovered that Katie had left her food in the car and I left my fork at home. Melanie and I were happy to share our extra food and we all had to share Melanie’s spoon. It was a surprisingly cold night I was grateful to have my warm sleeping bag and down booties!

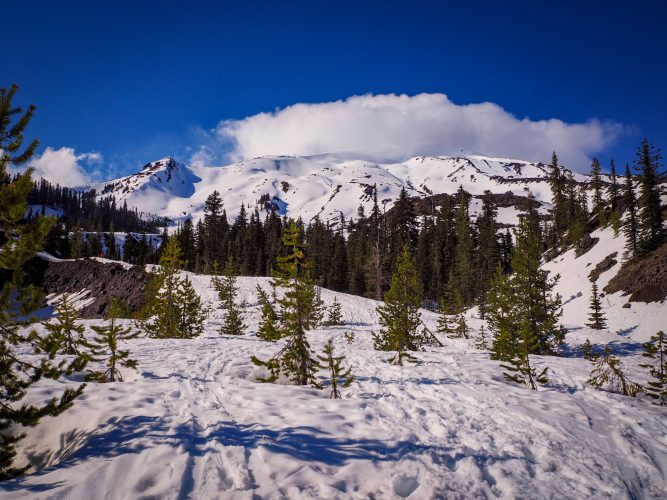
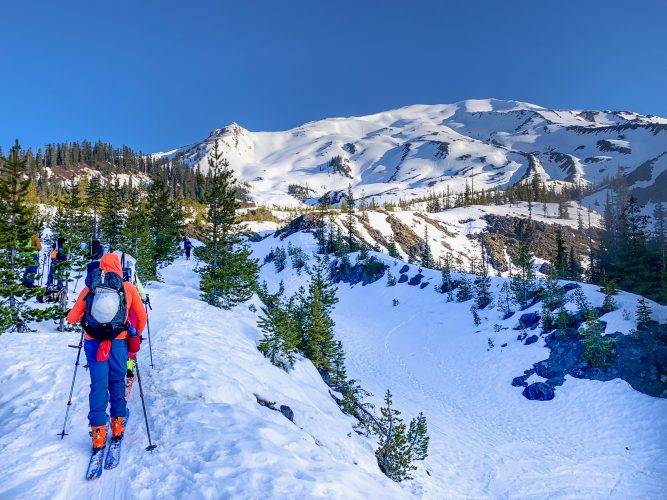
We woke just before 6 with the tent and everything left outside covered in ice. The snow had completely hardened up and it was really chilly I had to put all my layers on as we got ready. There was a lot of people coming up the trail as we left camp at 7:15 so we joined in on the conga line. The worm flows route from this point is pretty unforgiving it gains a ridge right near chocolate falls (3700ft) and the treeline ends at (4800ft). This was not a great day to forget my sunscreen but after my recent trip to Hawaii, I’d taken it out of my bag. I had to borrow some from a climber along the way.

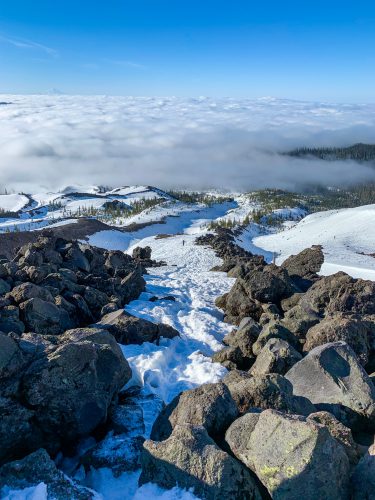
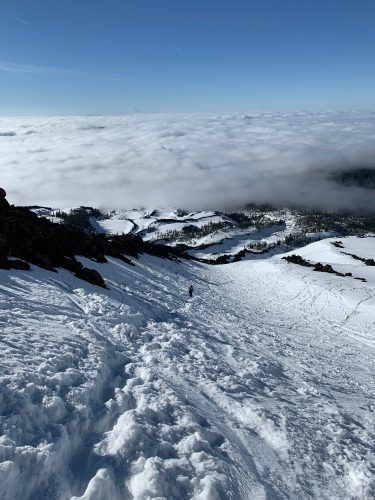
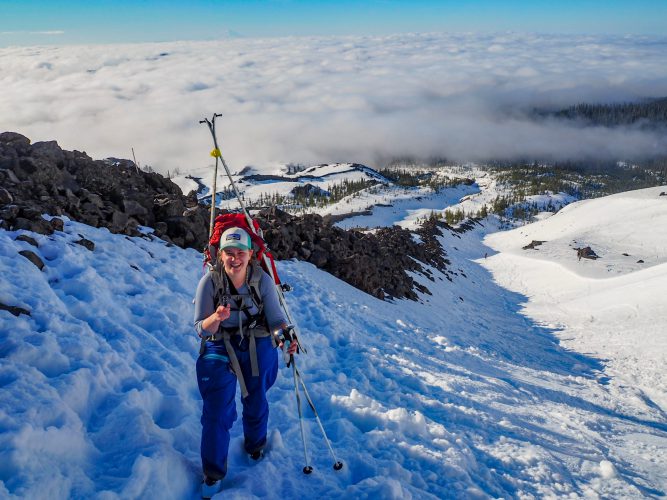
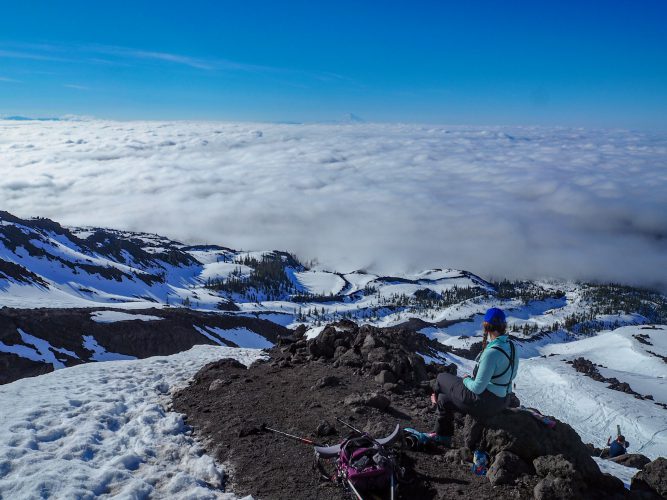
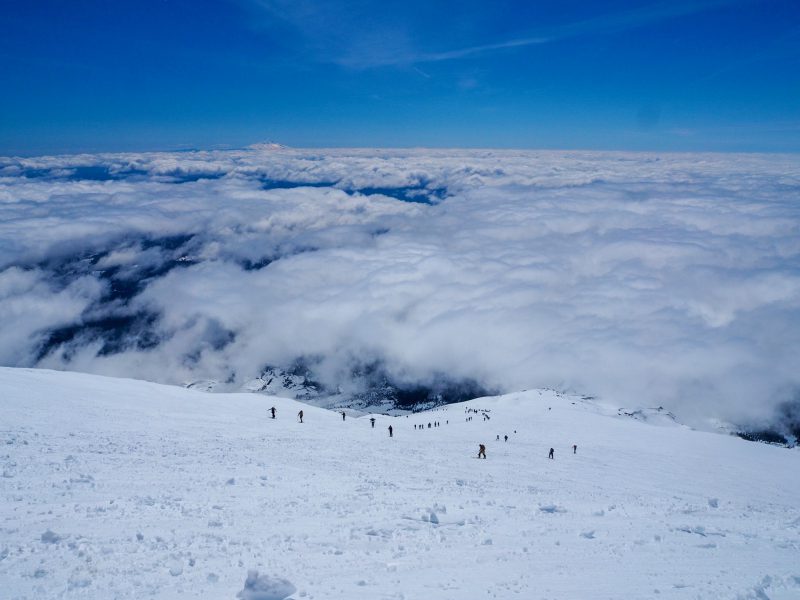
The sun was out in full force so it was really warm climbing. A low cloud stayed in the valley which made it feel like we were on an island surrounded by a sea of clouds. Pretty early on we swapped from skinning to just boot packing up the ridge because the boot tracks and hard ice made it hard work. We had to stop several times on the way up for a break, taking our heavy packs off for a break. Melanie and Katie weren’t feeling the climb and separately called it before the summit. I continued on by myself. I didn’t realize what we’d been aiming for was the false summit so I was pretty dismayed when I saw how much further I had to climb right at the end.

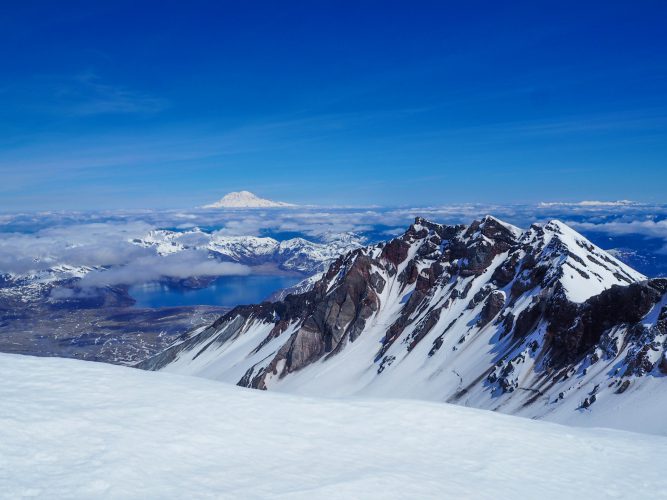
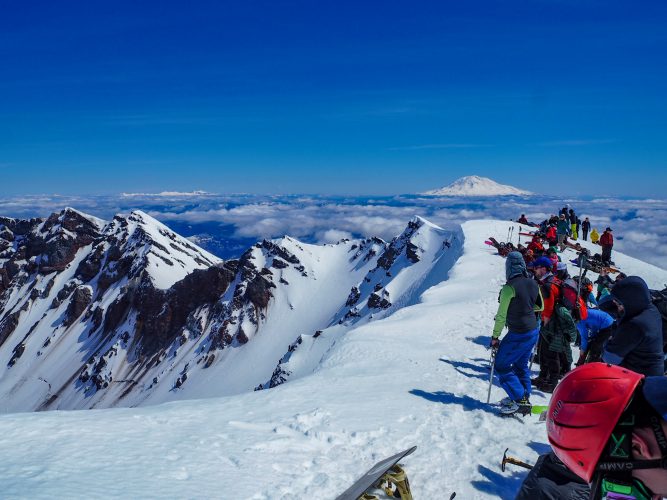
At the crater rim all the other skiers were hanging out on the rim (keeping away from the corniced edge) it felt like a big party. They were all waiting for the snow to soften a little more for the descent. I started the descent at 1 and took a line adjacent to the climbing trail to see if I could meet up with Katie on the way down. It wasn’t steep skiing but I did have to get used to skiing with sore legs (thanks to the climb) and a bit of chatter in my skis because of the snow being a little hard still. About halfway back to camp, I was surrounded by the low cloud which made route finding extremely difficult. Not being able to tell which side of a ridge I should stay on I took off my skis to climb over some rocks to realize it was a narrow corniced ridge so I was much better off where I was. As I climbed back over the clouds lifted to confirm this. I had so trouble much trouble putting my ski back on, the snow was soft and steep and I kept sinking into it. I got ski on then manage to fall down the slop a little out of reach of my other ski. I walked back to get my other ski. Only to drop it and it happened to land in a glissade shoot running all the way to the bottom of the bowl I was in, maybe like 20m. Pretty fed up with all of it I glissaded down using my poles and holding my ski. Reunited with my other ski I put them both on to continue my ski down. Some of the more narrow points of the trail up I was worried about the ski but I managed them all fine.

Katie and Melanie were both back at camp and we packed up ready to finish the ski out. Skiing down the trail with our 30 lb backpack was new but the easy gradient made it manageable and we got back to the car in no time.

Overall it was definitely harder than I thought. The added weight of carrying the skis made the climb much more exhausting than I anticipated. The sun didn’t help because my lips, nose and arms were absolutely fried by the end. We were really lucky with the weather, in bad visibility, it would be so much harder. For the split second of no visibility, I was seriously worried I take the wrong line and get stuck somewhere. Despite the added challenges, I can’t wait to ski this mountain again.

Toketee Falls Hike

Umpqua Hot Springs and Toketee Falls

The same day that I left Silver Falls State Park and hiked Shellburg Falls I made my way south to visit Umpqua National Forest. The biggest drawcard for me was to get to Umpqua Hot Springs and Toketee Falls. Luckily the trailheads for both are very close together. These are both really popular on Instagram so I was glad to be a bit later in the afternoon on a rainy Monday.

Toketee Falls is a very short hike from a trailhead just of the highway. The falls are similar in appearance to Ambiqua Falls, having the falls surrounded by columnar basalt. The viewpoint for this falls, however, is placed above the pool and falls giving you almost a birds-eye view of it. People jump the fence to scramble down to the falls, this looks both sketchy and stupid as it’s very steep and slippery. I noticed when I was there that the parking lot is flanked by a huge water pipe. The pipe diverts water in this river to a nearby powerplant; meaning the flow over the falls is consistent all year. Round trip to the viewpoint of the falls it’s less than a mile.

Umpqua Hotsprings are just a little further down the road of the same highway turnoff. These hot springs in the summer are only a mile hike from the parking lot. This time of year when there is still snow on the road you have to hike about 4 miles round trip from where the road is closed for the winter season. I hoped that this would also reduce the crowds. The road hike wasn’t particularly interesting and I was pretty disgusted to see all the rubbish left at the closed trailhead. I’m really not sure how people think the rubbish gets removed when it’s closed.

I walked the short trail up to the hot springs and was surprised by how busy it was with the road closed. I did have a pick of a few pools to myself and enjoyed warming myself in the hot water while it rained lightly. The upper pool is definitely the warmest so when the people in it vacated I took the opportunity to nab it and warm up. Unfortunately, I couldn’t stay that long, it was already late in the day and I had a bit of a drive to get out to crater lake that evening. The hike back to the car on the road was pretty boring, definitely needed my headphones to pass the time. The snow also made some sections pretty slippery and slow going.

GPS Track

Hike

Shellburg Falls

On my way south from Silver Falls State Park I stopped in at Shellburg Falls on my way back to the i5. Shellburg Falls is similar to other waterfalls in the area. It’s a single drop falls with a grotto underneath just like many of the ones in Silver Falls State Park. It is in Santiam State Forest but the first mile of the hike is on a service road with private property on either side (watch for cows).


mileage

3

elevation gain

410 ft

location

Central Cascades

drive time from Seattle

N/A

useful gear

Rain Gear

permits/passes

N/A

The rain was threatening for most of the morning as I hiked out to Shellburg Falls. The first mile on the access road was pretty boring but I enjoyed catching sight of a Woodpecker and seeing some of the fruit trees in bloom. Just before reaching the state forest the paddocks end and trees pop up on either side of the road making it feel like you have entered the wilderness. Shortly after passing the sign of the start of the state forest the road crosses over Shellburg Creek and you can view the Lower Shellburg Falls. The view of the lower falls isn’t that great from the vantage you get on the road but I didn’t want to scramble down to try to get a better one.

Just across the bridge, there is singletrack leading to Shellburg Falls. This trail winds up to the falls and goes behind it through the grotto. I had the whole place to myself. I guess as the forecast for the day wasn’t that great and the spot isn’t as big a name as Silver Falls. The falls were very pretty being surrounded by maples and moss adding to the atmosphere of the forest.

I followed the trail beyond the grotto and it switched back up to the top of the falls. From here it continues on to a camp ground. I didn’t want to go any further to the campground so I bushwhacked a little to join a forest road which turned out to be the road I started in on. This way I was able to make the hike a bit of a loop. I hiked back to the car and just as I got out of the forest the rain started so I could enjoy the last mile in the rain.

GPS Track

Resources

Hike

Abiqua Falls

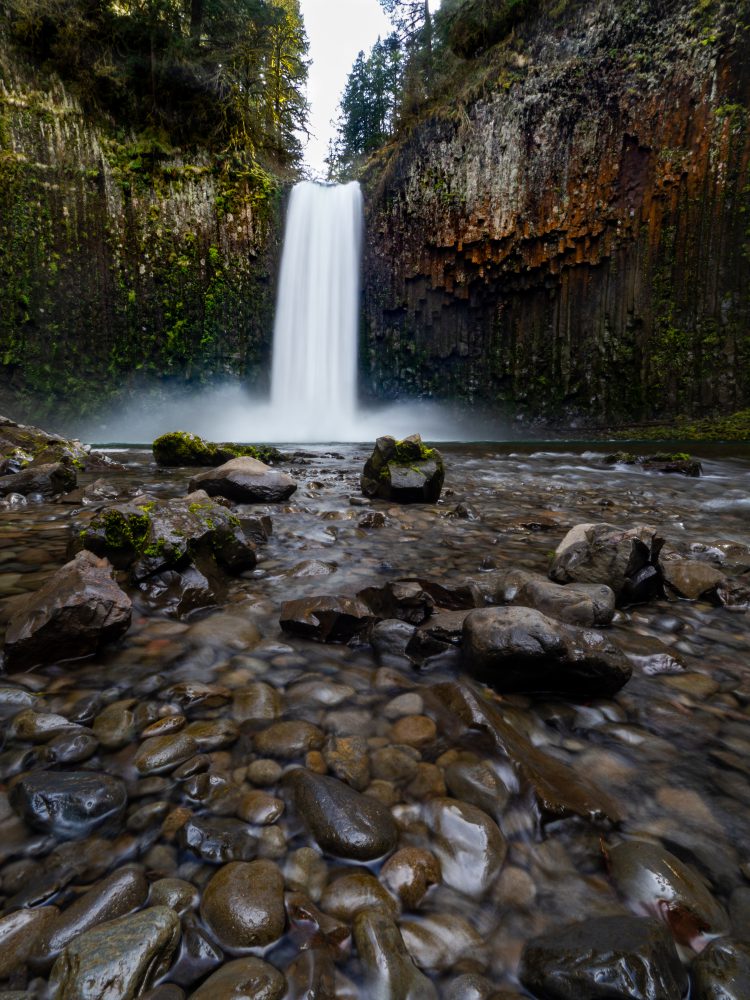
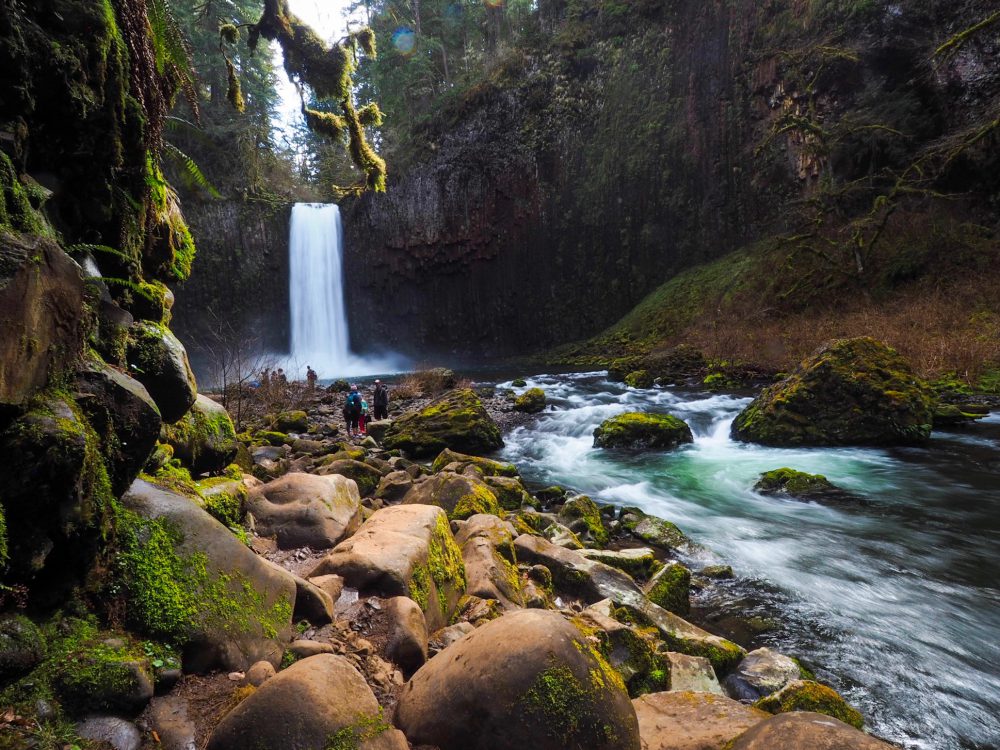
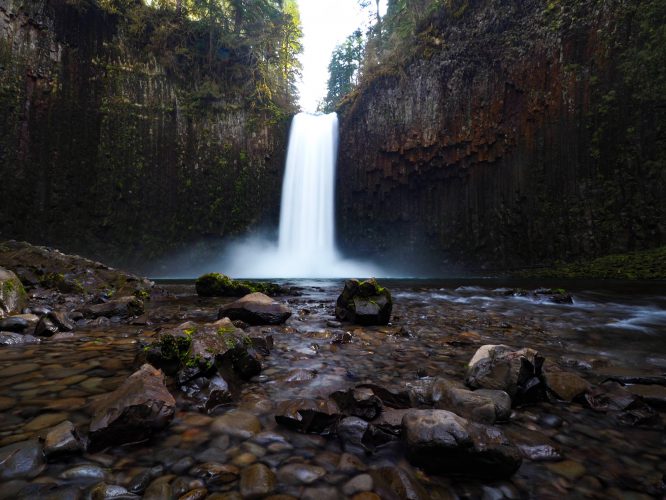
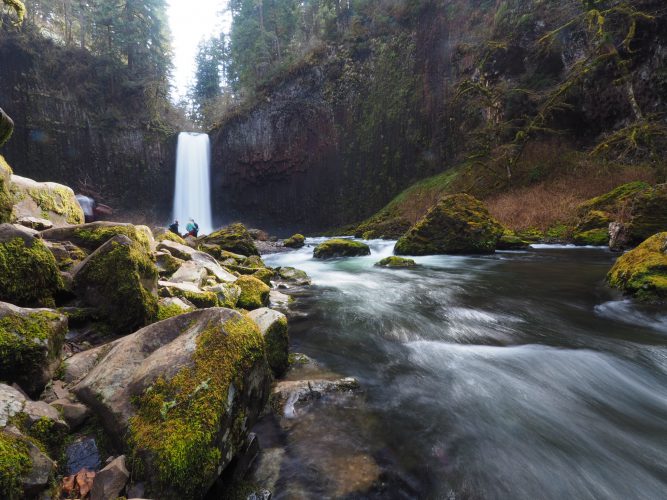
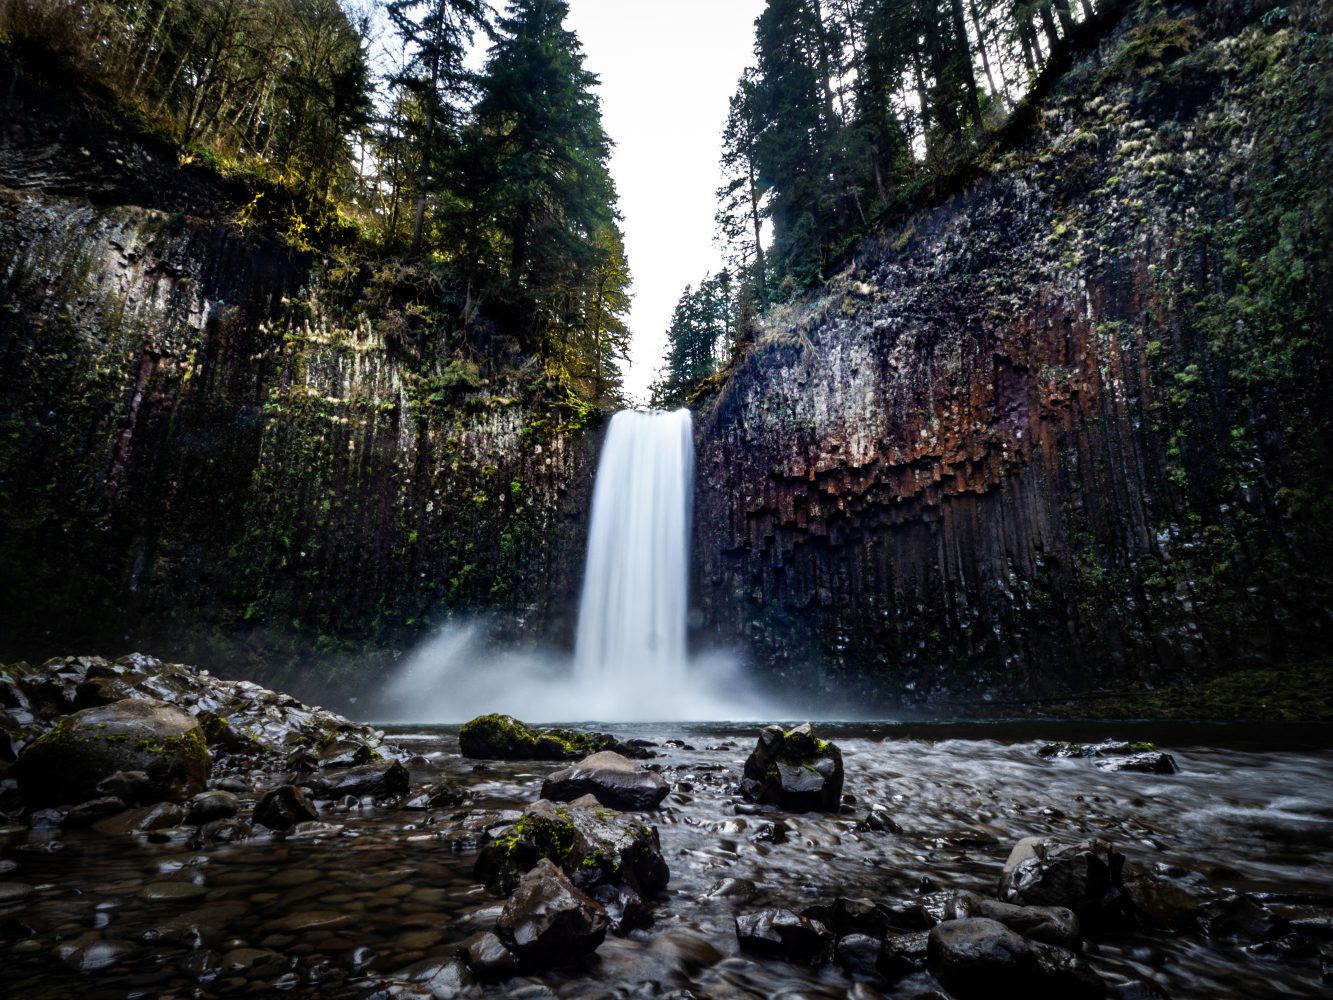
This is a short hike to a beautiful waterfall in Oregon’s Willamette Valley. It’s easy to see why the falls have become instafamous as when you are standing at the base of the falls looking up at the huge basalt amphitheatre.  Getting to the trailhead is just as much an adventure as the trail itself. The trail is on private land so the access road is not in the best shape and 4WD at least getting out is definitely required to drive all the way to the trailhead. People park along the road and walk in if their car isn’t up to the task.

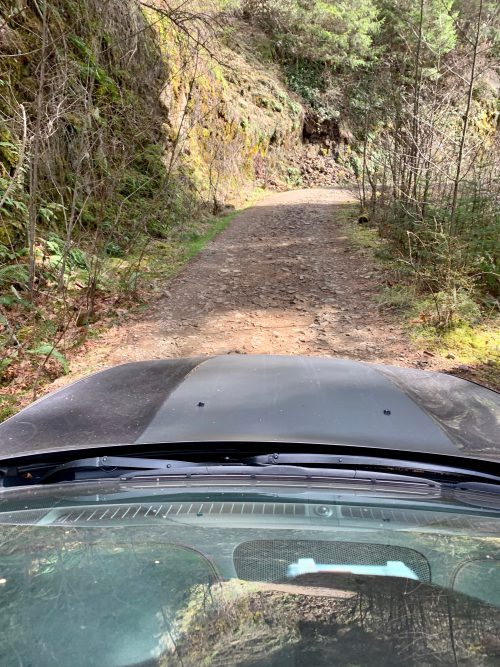
I found google really helpful in directing me to the trailhead because a lot of the forest roads aren’t really marked. The dreaded part of the drive is in the last 2 miles where the dirt road winds steeply downhill and gets riveted and rocky. Some recent rain also left some very large puddles which were hard to figure out how deep they were. It’s easy to drive down slow enough. The trickiest part of the road is a major switchback which is set on a steep turn and over the years has started to wash out. The clearance I have on my jeep really came in handy. At the end of the road is closed and there’s a small area to turn and park along the side. When I arrived there were 5 or 6 cars at the end of the road.

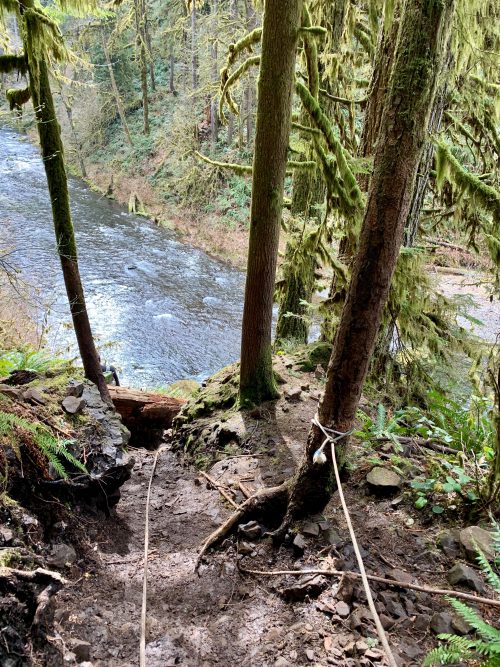
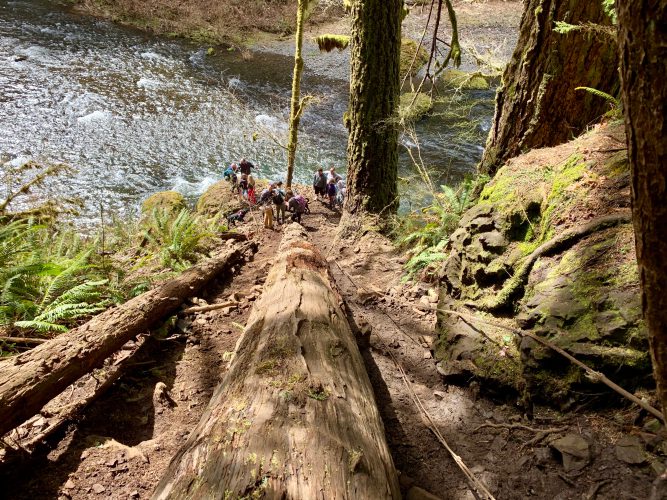
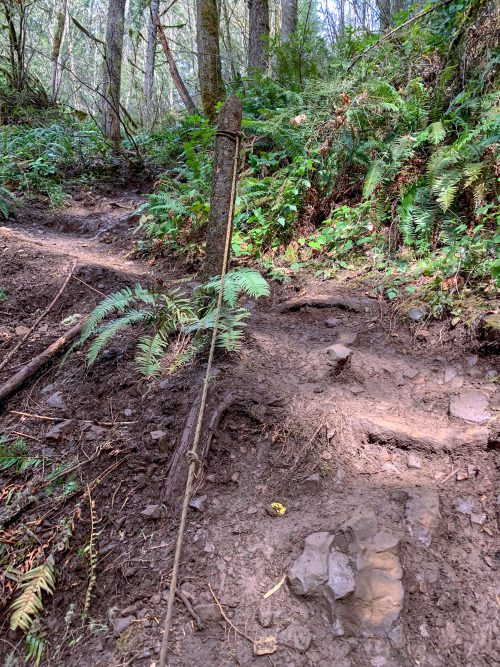
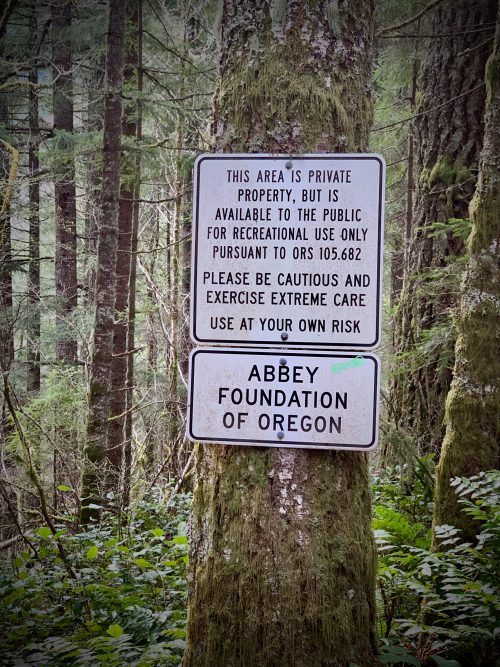
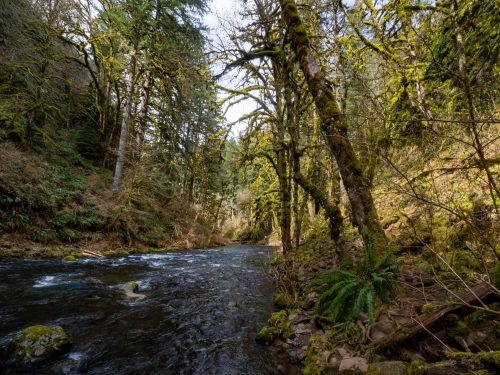
The hike down to the falls starts from the end of the road. There is a big sign saying it’s private property and has been opened to the public but adventuring down to the falls is at your own risk. Make sure you don’t head straight to the river but the trail kind of heads to the left. It winds down sometimes steeply and if there’s been recent rain like there was for me it was pretty slippery so I had to use my hands. The trail turns to the right to head down to the river and runs next to two fallen trees which point down to the river. This part is slippery and people have put up ropes to help you get down.

The final part of the trail follows the river bank to the left where you reach the amphitheatre containing Abiqua falls. I spent a bit of time at the falls and even though I was sharing it with a bunch of other people it didn’t ever feel super crowded. The road to get here seems to keep the crowds down.

I took my time with the hike and drive out and was surprised to find a car stuck on the hairpin washed-out turn. It was a two-wheel drive and they had made it down to the falls ok but the car didn’t have the clearance or the muscle power to make it up over the washout. The driver of the car was getting help from someone else and after I checked that they were ok I continued the drive out. I had to put my 4-wheel drive in low to get it up over the washout so I can’t stress enough how a 2 wheel drive shouldn’t be taken on this road.

Trail Info

Further info:

Outdoor Project

Hike

Silver Falls State Park

I was keen to visit the Silver Falls State Park when I took my road trip down to Oregon. I went to the park after my hike at Abiqua Falls (see post) which is really close as the crow flies but due to the roads takes about an hour to drive between. The big drawcard of Silver Falls State Park is the interconnecting system of waterfalls which can be seen in one hike called the Hike of the 10 Falls. I got there late in the afternoon and didn’t have time to do the full hike but got to see all the falls in two separate hikes. I stayed the night at a cabin near the conference centre which was really cute but I wish I had booked one at the park’s campground because they were cheaper. I was excited to visit in April because the falls would be at full capacity from the spring melt.

mileage

8

elevation gain

1,300 ft

location

Silver Falls State Park OR

drive time from Seattle

4h

useful gear

raingear for waterfall spray

permits/passes

Park entry ($3 from Visitors center or parking lot)

There are many options on where to start the trail of the 10 falls, I started my hike by parking at the South Falls Lodge passing the cafeteria and heading to the South Falls to begin. Even though it was pretty late in the afternoon I was surprised how many people there were around. The South Falls is a huge 54m (177ft) waterfall over basalt columns and the trail wraps down into the canyon and behind the falls. The interesting geology of the area means many of the falls have caverns behind the waterfall carved out by the water spray and made wider by the trail makers. The south falls is has the longest drop of any of the falls in the park and this time of year there was a lot of spray coming off. I got a little wet as I went under the falls and stopped to take photos. After the loop behind the falls, there is an option to head back towards the lodge on a bridge over the river or continuing on the canyon trail that follows the course of the river.

I continued on the trail following the course of the river. The trail was mostly flat and I passed several other parties returning to South Falls as it was getting pretty late in the day. After about a mile I got to some switchbacks and stairs leading down to the Lower South Falls. I think of all the falls this was one of my favourites, the path wound behind it, it wasn’t nearly as crowded as the main falls and at this time of year and there was a huge amount of water going over it.

The Canyon trail continues beyond the Lower South falls to where Silver Creek forks to the North and South. The trail now starts following the North Fork. After a short time, I got to the Lower North Falls and the side trail to Double Falls. Lower North Falls wasn’t that exciting – just a small cascade, but I liked Double Falls. Double Falls is the tallest in the park and in summer isn’t much to look at. It’s a thin falls but this time of year was full. The sun was getting pretty low and I was realizing I might not have enough time left to do the full loop. I continued hiking along the Canyon trail passing Drake Falls, Middle North Falls to Twin Falls. Of all these Falls Middle North Falls was my favourite, it was another that you could walk behind.

After a brief stop at Twin Falls, instead of finishing the canyon falls loop I backtracked and hike back to the car and at the South Falls parking lot via the Winter Falls trail. Winter Falls was another thin tall waterfall that in any other season probably wouldn’t be worth seeing. The trail has to climb out of the valley past Winter Falls where it joins the Rim Trail. The Rim Trail is only a way to connect the North and South Falls and not very exciting. It follows the road for the majority of the way.

Winter Falls

Once back at the car with the last of the light, I drove to the North Falls. North Falls was pretty impressive with a huge grotto carved out behind it. I climbed down the switchbacks and steps to explore the grotto and photograph the falls. When I got back to the car the sun had set and I didn’t have time for the final of the waterfalls on the trail (Upper North Falls). Since I was staying at the park I visited the Upper North Falls the next morning. It was a pretty waterfall but the flow was so high it was mostly shrouded in mist and hard to get photos of without getting my lens wet.

Useful links

GPS Track